Table of Contents
Introduction
Gluten-free baking can feel intimidating, especially when your bread comes out dry, crumbly, or flat. But my recipe for No Knead Gluten Free Bread turns all of that around. With just a handful of simple ingredients and a slow-rise method, you can bake a loaf that’s crusty on the outside, soft and tender inside, and full of homemade goodness. In this article, I’ll walk you through why the no-knead method works so perfectly with gluten-free flour, share essential tips to improve texture, guide you step by step through the baking process, and explore storage, serving, and flavor variations. You’ll come away confident that No Knead Gluten Free Bread can be a reliable staple in your kitchen—even on busy days.
Why the No Knead Method Fits Gluten-Free Baking
How no-knead transforms gluten-free dough
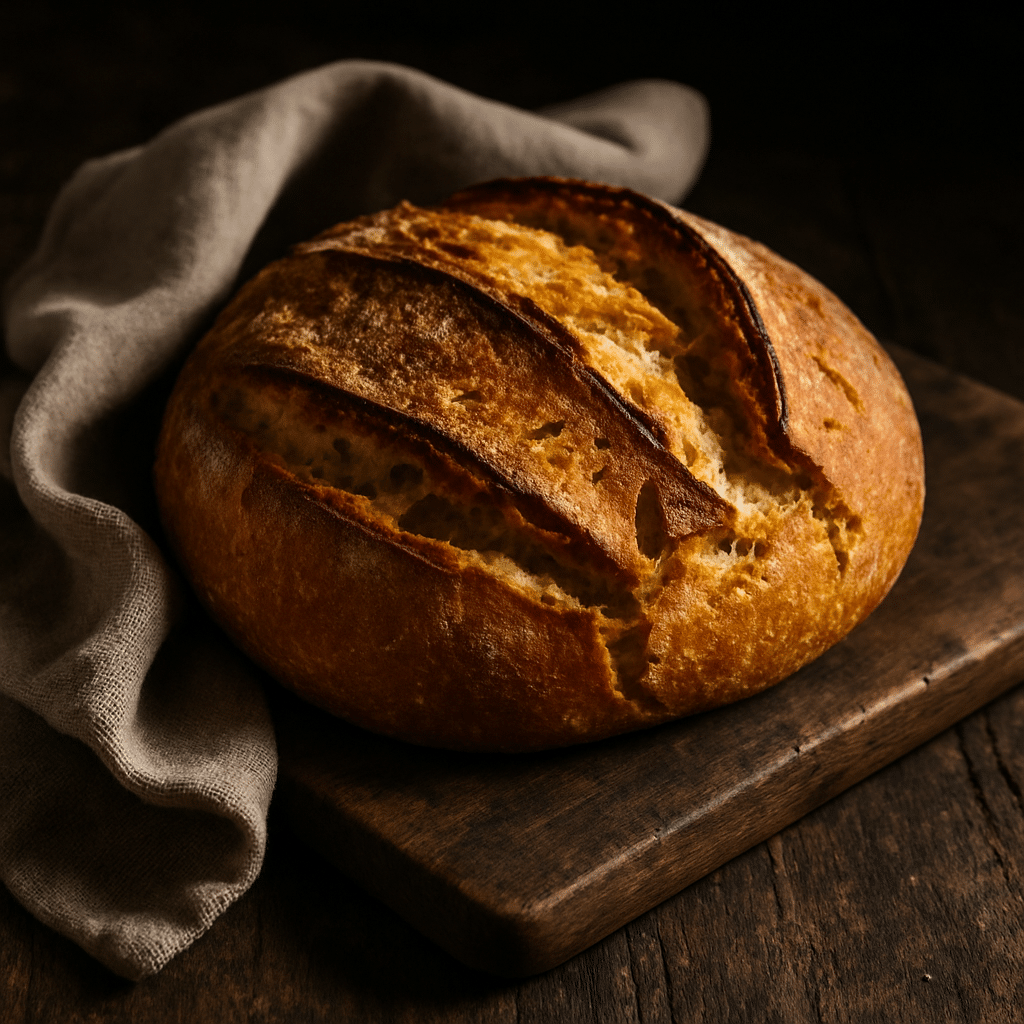
When gluten isn’t present, kneading isn’t what builds structure. Instead, it’s time. My recipe for No Knead Gluten Free Bread takes advantage of a slow, relaxed rise—often 12 to 18 hours—to let starches hydrate fully. This gives the loaf body and chewy texture without any elbow grease. The result? Soft crumb, deep flavor, and a crust that rivals bakery loaves, all with minimal effort.
Perfect for busy home cooks
As a busy mom sharing the kitchen with my daughter, Nouha, I rely on methods that simplify life. No Knead Gluten Free Bread is perfect because you mix the ingredients, cover the dough, and let it rest overnight or during the day. No need to schedule multiple kneading sessions or monitor elaborate proofing stages. In the morning or before dinner, it’s ready to bake. You get fresh, homemade bread with zero stress.
Key Ingredients & Techniques for Success
Choosing the right flour blend
The foundation of No Knead Gluten Free Bread is a well-balanced gluten-free flour mix. I blend rice flour, tapioca starch, and a binder like xanthan gum or psyllium husk. This combo traps the bubbles that yeast produces and supports crumb structure. You can mix your own blend or use trusted store-bought options like Bob’s Red Mill 1-to-1 or King Arthur Measure for Measure. The key is a careful balance of starch and protein-like ingredients.
Steam, proof, bake: the pro approach
The no-knead magic happens in a Dutch oven. Preheat it with the lid on at 450°F to create a steam-rich environment that gives the crust a satisfying crunch. During the long proof, the dough ferments slowly, developing flavor and texture. Once you bake it covered for 30 minutes, you lock in moisture; uncovering for the final 15 minutes adds the golden, rustic finish. This technique elevates gluten-free dough into impressive artisan-style bread.

No Knead Gluten Free Bread: Easy Homemade Recipe That Actually Tastes Great
- Total Time: 13 hours
- Yield: 1 loaf 1x
Description
This No Knead Gluten Free Bread is soft on the inside, golden on the outside, and perfect for sandwiches or toasting. Simple to make with pantry staples.
Ingredients
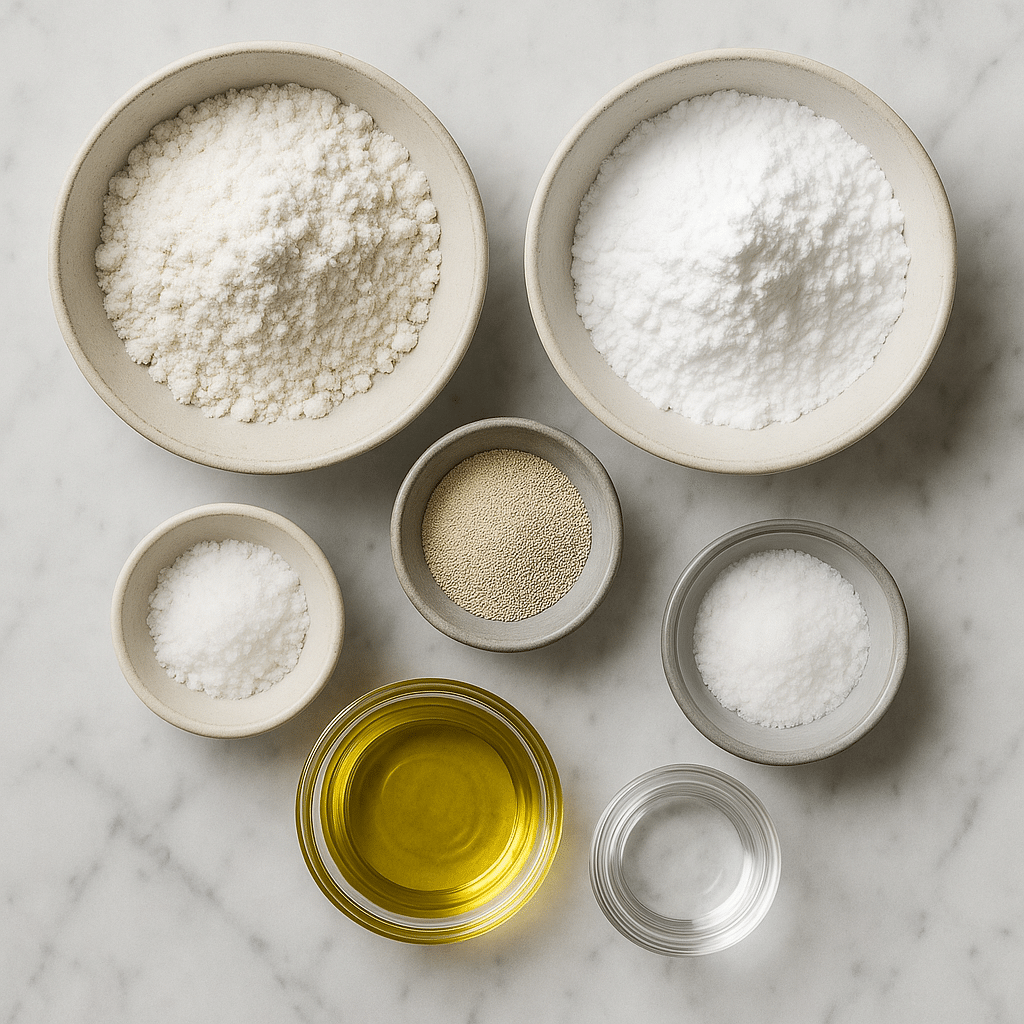
3 cups gluten-free flour blend
2 tsp instant yeast
2 tsp sugar or honey
1½ tsp salt
2¼ cups lukewarm water
2 tbsp olive oil
Instructions
1. Whisk dry ingredients in a large bowl.
2. Add water and oil. Mix until a sticky dough forms.
3. Cover with plastic wrap and let rise for 12–18 hours at room temperature.
4. Preheat oven and Dutch oven to 450°F.
5. Shape dough gently on floured surface.
6. Place into parchment-lined Dutch oven.
7. Bake covered for 30 minutes.
8. Uncover and bake 15 more minutes.
9. Cool completely before slicing.
Notes
Store wrapped in a towel at room temp for 2–3 days or freeze sliced for longer freshness.
Feel free to mix in herbs, seeds, or sweet additions like cinnamon and raisins.
- Prep Time: 10 minutes
- Cook Time: 45 minutes
- Category: Bread
- Method: Baking
- Cuisine: American
Nutrition
- Serving Size: 1 slice
- Calories: 145
- Sugar: 1g
- Sodium: 210mg
- Fat: 3g
- Saturated Fat: 0.5g
- Unsaturated Fat: 2.2g
- Trans Fat: 0g
- Carbohydrates: 28g
- Fiber: 2g
- Protein: 2.5g
- Cholesterol: 0mg
Keywords: No Knead Gluten Free Bread, easy gluten free bread, homemade gluten-free
If you’re craving more satisfying comfort food, you might enjoy the Burger Bowl Recipe: Easy, Delicious, and Perfect for Busy Nights, which offers the same crispy, savory satisfaction you’ll find in your air fryer potatoes. Indulge in the rich sweetness of Dubai Chocolate Strawberries: a luxurious treat ideal for special occasions or as a delightful dessert after any meal.

Step-by-Step No Knead Gluten Free Bread Recipe
Mixing and extended rise
- In a large bowl, whisk together:
- 3 cups gluten-free flour blend
- 2 tsp instant yeast
- 2 tsp honey or sugar
- 1½ tsp salt
- Pour in 2¼ cups lukewarm water and 2 tbsp olive oil. Mix vigorously until you have a sticky, thick dough. No need to knead—just combine gently.
- Cover with plastic wrap or a kitchen towel and let rest at room temperature for 12 to 18 hours. You want to see bubbles and a slight rise but no worry if it’s not doubled like wheat dough.
Baking day routine
- Preheat your oven and Dutch oven (with lid on) to 450°F for at least 30 minutes.
- Dust a work surface with rice flour, then gently turn out the dough and shape it into a round ball.
- Place it seam-side down onto parchment paper and carefully lower it into the hot pot.
- Bake covered for 30 minutes to build steam, then uncover and bake another 15 minutes for a golden crust.
- Remove the loaf and let it cool completely for at least an hour before slicing—this helps the crumb set properly.
Troubleshooting & Flavor Variations
Fixing common baking issues
- Dry or crumbly loaf? Add a tablespoon of water next time or include one extra yolk or a bit of oil.
- Dense or gummy texture? Decrease hydration slightly and make sure you’re using a binder like psyllium husk or xanthan gum.
- Not rising enough? Check your yeast’s freshness and allow a full 12 to 18-hour rise at consistent temperature.
These tweaks help fine-tune your loaf to perfection.
Creative ways to elevate flavor
- Add herbs like rosemary, thyme, or oregano directly into the dry mix.
- Mix in a couple tablespoons of seeds—like sunflower, pumpkin, or sesame—before letting the dough rise to add extra crunch and nutrition.
- Want a sweeter take? Try folding in honey and a touch of cinnamon. Craving something savory? A dash of garlic and a sprinkle of thyme work wonders.
These variations turn a basic No Knead Gluten Free Bread into something special that complements any meal.
Storage, Freezing, and Serving Tips
Make it last
Once completely cool, wrap your loaf in a kitchen towel or store it inside a paper bag—these materials keep the crust crisp while keeping moisture in. Store at room temperature and use within 2 to 3 days. After that, I slice and freeze the rest. It toasts beautifully straight from the freezer.
Serving ideas that shine
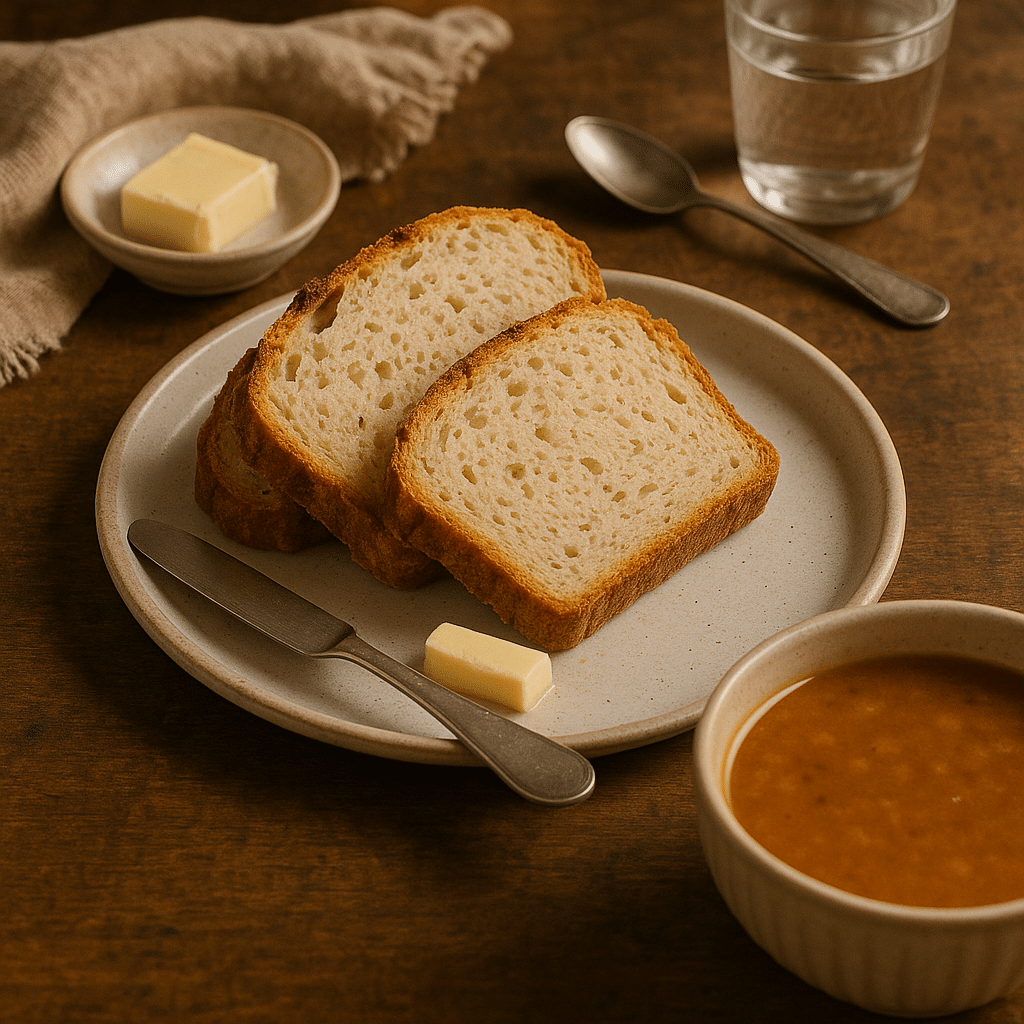
- Enjoy it warm with a pat of butter, a drizzle of olive oil, or a spoonful of creamy hummus.
- Pair sturdy slices with soups like lentil or tomato.
- Make avocado toast or hearty sandwiches.
- For brunch, top toasted slices with smoked salmon, cream cheese, and herbs.
No Knead Gluten Free Bread is versatile and complements breakfasts, snacks, and dinners alike.

Why No Knead Gluten Free Bread Is a Game-Changer for Gluten-Free Lifestyles
Making gluten-free feel normal again
When my daughter Nouha and I started baking together, we wanted something that felt just like traditional bread—soft, hearty, satisfying. With No Knead Gluten Free Bread, I found a recipe that didn’t just meet dietary needs but also brought back the joy of warm, homemade loaves. It slices like regular bread, toasts beautifully, and holds together well for sandwiches or French toast.
Budget-friendly and better than store-bought
If you’ve browsed the gluten-free aisle, you know how expensive and underwhelming store-bought loaves can be—dry, full of additives, and gone in a day. Baking No Knead Gluten Free Bread at home not only tastes better but saves money. With basic pantry ingredients, you get multiple servings of real, flavorful bread. No gums, fillers, or strange aftertastes—just real food made in your own kitchen.
Reader Feedback and Easy Customizations
What readers are saying
Since sharing this recipe, I’ve received messages from readers all over the country. One mom in Texas told me she hadn’t had bread this good since her diagnosis. Another said her kids now ask for No Knead Gluten Free Bread by name—proof that even picky eaters love it. Many are surprised it doesn’t require a stand mixer or specialty ingredients. Just time, care, and a few pantry staples.
Customize to fit your taste
You can adapt this recipe endlessly. Use a touch of molasses for a deeper, more rustic flavor. Mix in caraway seeds or cracked black pepper for deli-style flair. Or try using a portion of buckwheat or sorghum flour for added nutrition. Whatever you choose, No Knead Gluten Free Bread stays consistent, flexible, and welcoming—just like a good family recipe should.
Frequently Asked Questions
Is there any gluten-free bread that actually tastes good?
Yes! With the right flour blend, proper hydration, and a slow proof, No Knead Gluten Free Bread can rival traditional loaves in flavor and texture.
What is the secret to baking good gluten-free bread?
Balance hydration, include binders like psyllium husk or xanthan gum, and allow sufficient rise time. Steam baking in a Dutch oven locks moisture and builds a terrific crust.
Does the no knead method really work for gluten-free baking?
Absolutely. Time and technique—proofing, steam, and a hot bake—replace kneading perfectly, making this method ideal for gluten-free bread.
What is the biggest challenge with gluten-free baking?
Achieving proper structure and mouthfeel is hard without gluten. Binders, right hydration, long fermentation, and good baking tools can solve most issues.
Conclusion
No Knead Gluten Free Bread is an easy, efficient, and family-friendly baking method that delivers artisan-style results without the fuss. From mixing to baking, this approach streamlines your day while offering homemade flavor. Give it a try—you might find that gluten-free doesn’t just meet expectations; it exceeds them.
For more detailed advice, see my guides on Pinterest.

